Product Details
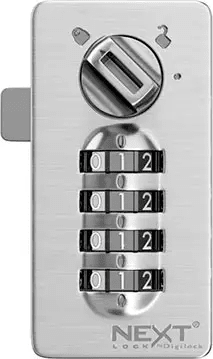
Interface
Front Unit
Dial :Hasp :Laser Cam
Dial Combo Locks operate with a dial operated numeric interface.
Body Style
Front Unit
Body | Dial : Hasp : Laser Cam


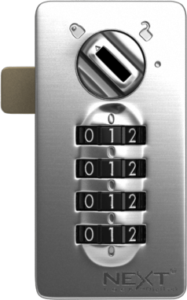


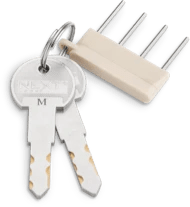
Lock Management
Select mechanical solutions can be managed with laser cut keys and a reset tool.
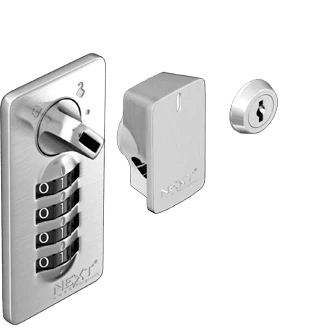
Finish
Standard finish is brushed nickel
ADA Compliant Options
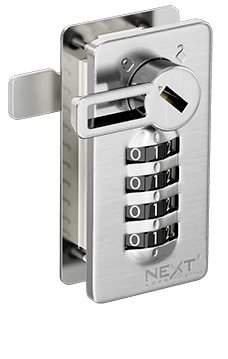
ADA Lever
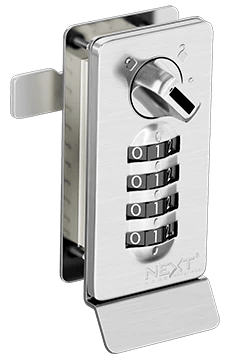
Pull Handle Plate
Mech Support
Dial Combo
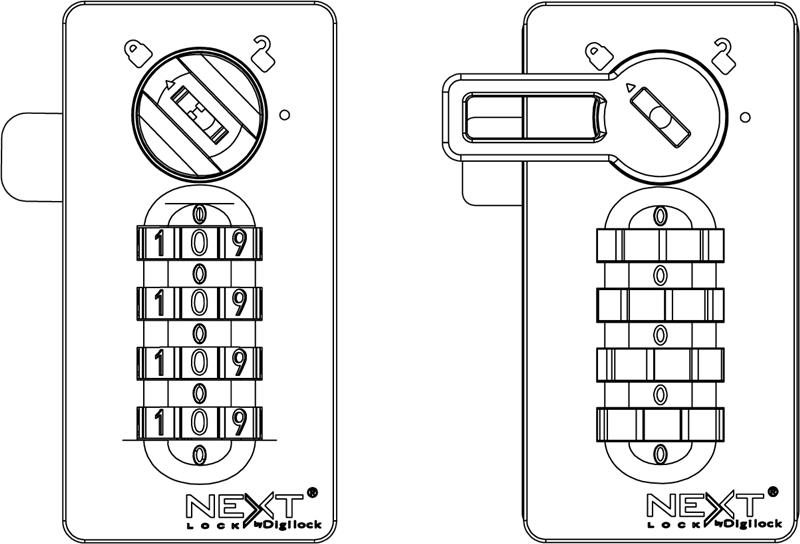
Dial Combo Getting Started
Factory default code = 0-0-0-0
- Set the dial to show the current user code.
- Insert the Programming Key and turn the knob to the
position.
- Set any 4-digit code.
- Turn the knob to the
position and remove the Programming key.
- Scramble the code.
Once a new user code is assigned, the previously assigned user code will no longer operate the lock.
If the current user code is unknown, follow the Reset Instructions to assign a new user code.
Note: Removing the Programming Key in the position will remove the core. See Change Core Instructions to reinsert the core.
To Lock:
- Make sure the knob is in the
position.
- Close the door.
- Set any 4-digit code.
- Turn the knob to the
position.
- Scramble the code.
To Unlock:
- Enter your 4-digit code.
- Turn the knob to the
position.
- Open the door.
- Scramble the code..
- Insert the Manager Key.
- Turn the knob to the
symbol.
- Open the door.
Note: If opened in error, use the Manager Key to turn the lock to the position. The original code will continue to operate the lock. If the code is forgotten, follow the Reset Instructions to make the lock available for another user.
- Insert the Manager key.
- Turn the knob to the
position.
- Remove the Manager Key.
- Insert the Reset Tool.
- Push in the Reset Tool and simultaneously turn all dials until it stops.
- The final code displayed is the current code.
- Turn the knob to the
position.
If the Manager Key is lost or stolen, contact support for a Replacement Set (Manager Key, Replacement Removal Key, and Cores).
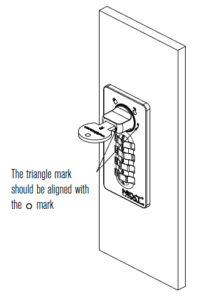
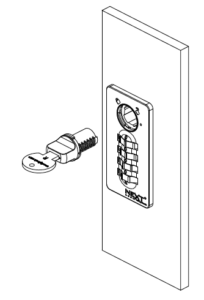
- Turn the knob to
position. Insert the removal key and turn the knob to
position.
- Pull the key to remove the knob and core.
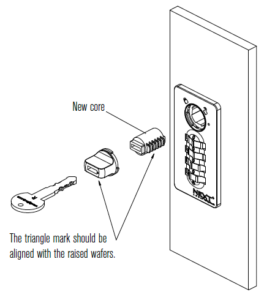
- Insert the replacement Removal Key into the knob and place a new core on the knob. The triangle mark on the knob should be aligned with the raised wafers.
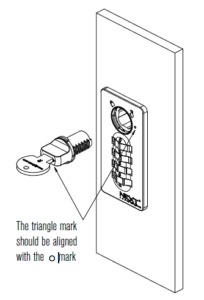
- Insert the new core subassembly into the lock. The triangle mark should be aligned with the
position.
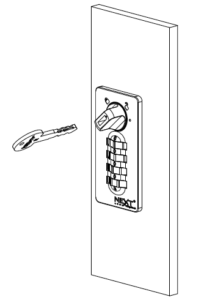
- Turn the knob to
position. Remove the Replacement Removal Key.
Dial Combo Instructional Video
Hasp
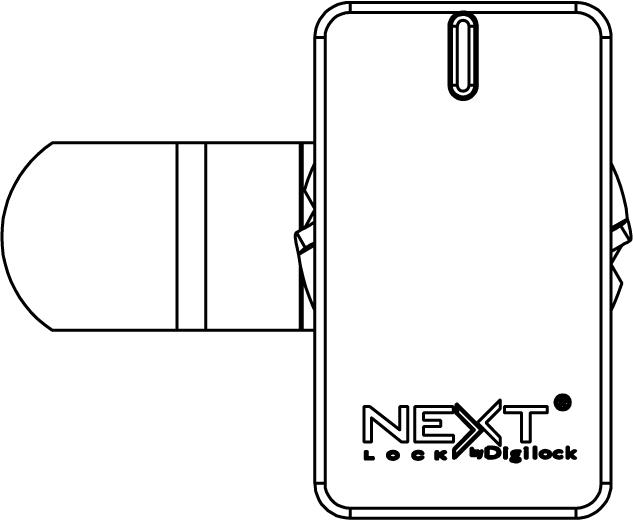
Hasp Documents
Laser Cam
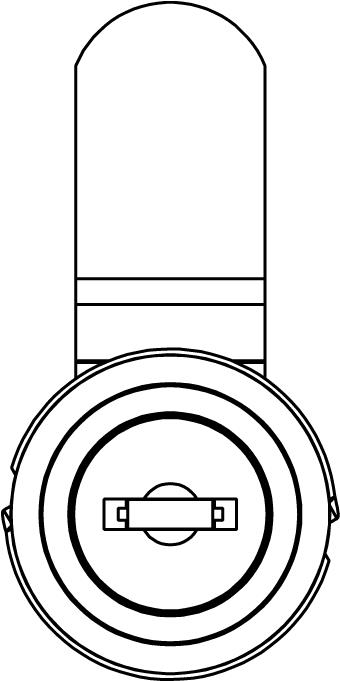
Laser Cam Documents
Request a Quote
Ordering from DigitalLocksOnline.net (Fleetwood Student Sales, Inc) is fast and easy.